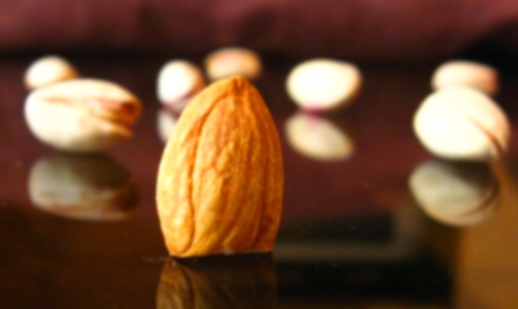
 Well the title of the post is the The caption for this photograph, and i recently captured this, and is one of my favorite, primarily because i first thought of a theme (Miles ahead of the Pack), then thought an idea to visualize it, and then the shot also came as i wanted.
Remember this photo hasn't been edited at all by any software (except for resizing for ease of publishing)
Selectively getting the Almond into sharp focus and leaving the rest of the nuts out of focus, even when they were not separated by large distances and not over exposing anything (even with a low aperture value) was slightly tricky, Here is how i did it:
Step 1:
Lowering the aperture value to the minimum, that is allowed by my camera, which is 2.6, It was done to reduce the depth of field to the minimum, so that the least amount of frame is in focus. (But lowering the aperture value, opens up the lens to the maximum, and allows a lot of light to enter, which must be compensated by other things, as explained below)
Step 2:
Setting the shutter speed to faster value than normally used for indoor settings, to compensate for the excess light because of the small aperture.
BUT, the result i got was nothing great, so what i did was i removed the curtains from the right side of the almond, and allowed sunlight to fall on one side, this created a sharp shadow of the ridges in the surface of almond, giving the illusion of extra sharpness of almond, and blurring of the rest of the nuts.
Step 3:
Manually setting the focus to the minimum possible, and then getting the camera lens as close as possible to just get the almond in focus. Now this is important because:
Say, the camera focuses sharply at distance "X", And the distance between the almonds and the nuts be "Y". Now to get a selective focus, Y should be as large as possible when compared to X. This can be done it two ways, one is to increase the Y, but that would have made the nuts occupy a very small area in frame, and the beauty would have been lost. The other way is to reduce X, which is what i did. ;-")
Handy Tip:
Your clothes are brilliant materials to block unwanted stuff out, because you don't have to carry anything extra and they don't reflect back the light, for example, The red background you see is basically my jacket rolled up, to prevent the tv in my living room to ruin the background, however i noticed later, that in the reflection on the glass surface you can see the outlines of the tv. (right-bottom)
Thursday, November 16, 2006
| [+/-] |
Miles ahead of the Pack |
Tuesday, November 14, 2006
| [+/-] |
Ice or Water? |
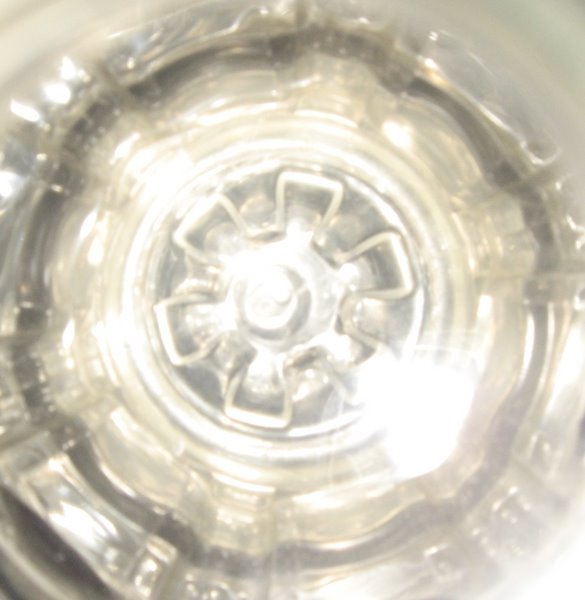
Hey guys, i recent got lucky, and won myself a ticket to Antarctica to visit the world famous museum of objects carved out of ice, and what did i get back for you, well, a photograph of giant wheel, carved out of a single block of ice.
Ok, agreed i am KIDDING, what you see is nothing, but the mundane view of a PET bottle's bottom, filled partially with water (Click to enlarge). An example of how routine things become "cool" when shot in closeup (Macro) Mode
How to do it: (SIMPLE, in every sense of the word)
1)Get a PET bottle, (You can do the following with bottles in different color, to give even more amazing results)
2)Switch your camera to macro mode, put your lens at the mouth of the bottle and click, yeah, Slight tilt of the lens can produce different results, which may turn out to be better or worse.
HANDY TIP: Shake the bottle slightly before taking the picture, so that the wavy water gives a better feel.
Friday, November 10, 2006
| [+/-] |
Composition: Small Things, Big Difference |
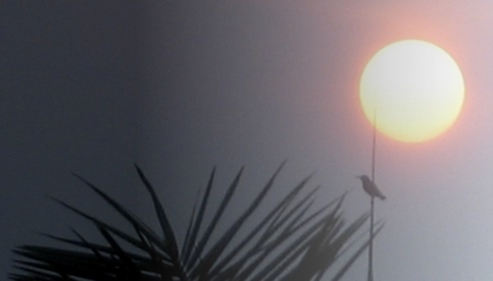
Here is a small example, of how small things, can affect your picture in a big way. In the picture above, had the bird not been there, it would have looked half as good as it does now. This picture was taken from my balcony, pretty early in the morning. I was trying to get a photo, where the bird was flying right across the sun, but i waited for quite some time, and the bird just didn't move. Maybe someday i will get lucky ;-").
To get the right exposure, that is to not over expose the sun, and under expose the tree and the bird (the blurred silhouette was intentional) was pretty critical for this photograph, As this photograph, doesn't like most sunrise photos keeps the sun in the center, so i had to ensure by some other way, to keep the sun as the primary focus of the photograph.
Handy Tip:
Choosing a lower ISO setting, and Focusing at infinity, ensured that the bird and tree was slightly out of focus (so that they don't draw much attention and yet fill the frame artistically), and the Sun didn't spoil the neighboring area. (Lower ISO setting)
Thursday, November 09, 2006
| [+/-] |
Via-My-Lens Picture |
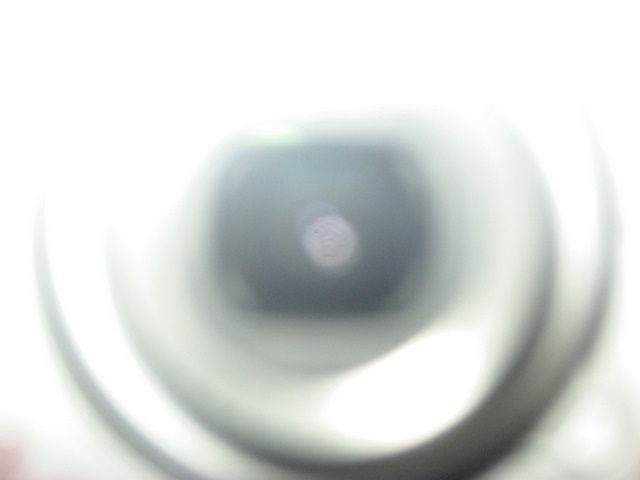
As for the picture, below (The one in my last post), well it is one of my favorites, Here is how i produced it, and what exactly it is:
What it is:
Picture caption: VIA-MY-LENS
Well it is the lens, of the camera, from which the picture was taken itself. I LOVE, to take macro shots of everyday items, to give them a more interesting and different perspective, you will find a lot of such examples in the days to come.
How it was done:
Well, place the camera really really close to a mirror, put the flash on fire mode, and shoot. Yeah, pretty simple and results are good. But to add the slight enigma into picture, you would need to play around with the distance from the mirror and flash power, we Don't want a well focused and well exposed image over here. Out of focus and over exposed, just do the trick fine.
Handy TIP:
If your camera has silver/white body you are in luck ;-), but otherwise also, results can be very interesting.
==========================
A relatively long Post script: ;-")
In this blog I will refrain from using any desktop software for any
touch-ups as far as possible, and also, i will for 95% of the time,
will not post anything, that can be produced only with an SLR, a simple
point and shoot camera, which gives you flexibility over shutter speed,
aperture, focus and ISO settings in the manual mode, and is small
enough to carry everywhere, is the best choice. There are lots of
options available for this under 300$, canon Powershot A540, will be a
very good choice.
Btw, if i use any shot for the purpose of illustration, which hasn't been taken by me, for the sake of convenience, i will explicitly mention it.